James Hardie Room Addition Contractor in San Francisco: What to Know First
Adding a room to a James Hardie-clad home in San Francisco means matching new sections to existing HardiePlank lap siding or HardiePanel vertical siding without creating a seam that looks like an afterthought. We’re an independent James Hardie service provider, and most room addition jobs that involve matching existing Hardie siding run between two and six weeks depending on scope, with the siding and trim portion typically landing in the $14,000 to $38,000 range for a standard 300 to 600 square foot addition. We put that price in writing before we start, not after we open the wall. If you own a Hardie-wrapped home and you’re planning an addition in San Francisco, call (424) 328-5746 and we’ll walk the property with you.
This page is for homeowners who already have James Hardie fiber cement siding, trim, or soffits and want to know what a room addition will actually cost, how we match the new section to the old, and what can go wrong if a contractor slaps up any generic siding and calls it done.
How James Hardie Products Fail – and How We Fix Them
Hardie products hold up well in San Francisco’s fog-and-salt air, but they’re not invincible. Here’s what we see on additions and adjacent existing sections:
- HardiePlank lap siding butt-joint separation on the original structure. San Francisco’s temperature swings between foggy Outer Richmond mornings and warm Mission afternoons make fiber cement expand and contract enough that poorly flashed butt joints open up over time. When we tie a new addition into existing HardiePlank, we inspect every joint within four feet of the tie-in point and re-flash any that show gaps beyond 1/8 inch. Skipping this step means water gets behind the new work within two winters.
- HardiePanel vertical siding wicking at grade on downhill lots. Homes on sloped San Francisco streets, especially around Glen Park and Diamond Heights, often have one side of the house where HardiePanel sits too close to the soil line. Fiber cement wicks moisture like a sponge at cut edges. Before we frame an addition, we check the existing panel edges and trim back any bottom edges within two inches of grade, then prime and seal them with Hardie-recommended edge coat. No paint fixes a wicked edge.
- HardieTrim board rot at window and corner intersections. HardieTrim is dimensionally stable, but fasteners backed out or caulk joints failed around original windows create a slow leak behind the trim. When an addition butts against an existing window bay, those hidden sections get exposed. We replace any trim with swelling or softness before the new wall closes the gap, because once the framing is up, fixing it means demolition.
- Color-matched patching gone wrong on HardiePlank with factory ColorPlus finish. We regularly see additions where a contractor used primed siding and field-painted it to “match” existing ColorPlus. It looks close for six months, then fades at a different rate than the baked-on factory finish. On ColorPlus homes we order new siding from the same color lot when the color is still in production, or we use Hardie’s touch-up kit and document the color code in writing so the faded match is disclosed before the job starts.
- Stucco-to-Hardie transitions done without a weep screed. Many San Francisco additions between 1900 and 1940 were stucco over the original siding. When we tie a new HardiePlank section into old stucco, the transition needs a weep screed and a proper casing bead where the two materials meet, or the bottom edge of the stucco wicks moisture into the new wall cavity. This is the number one thing we fix on additions other contractors started and lost control of.
Our James Hardie Room Addition Contractor Process
Here’s how a typical James Hardie room addition runs with us, from the first phone call to the final walkthrough:
- 1
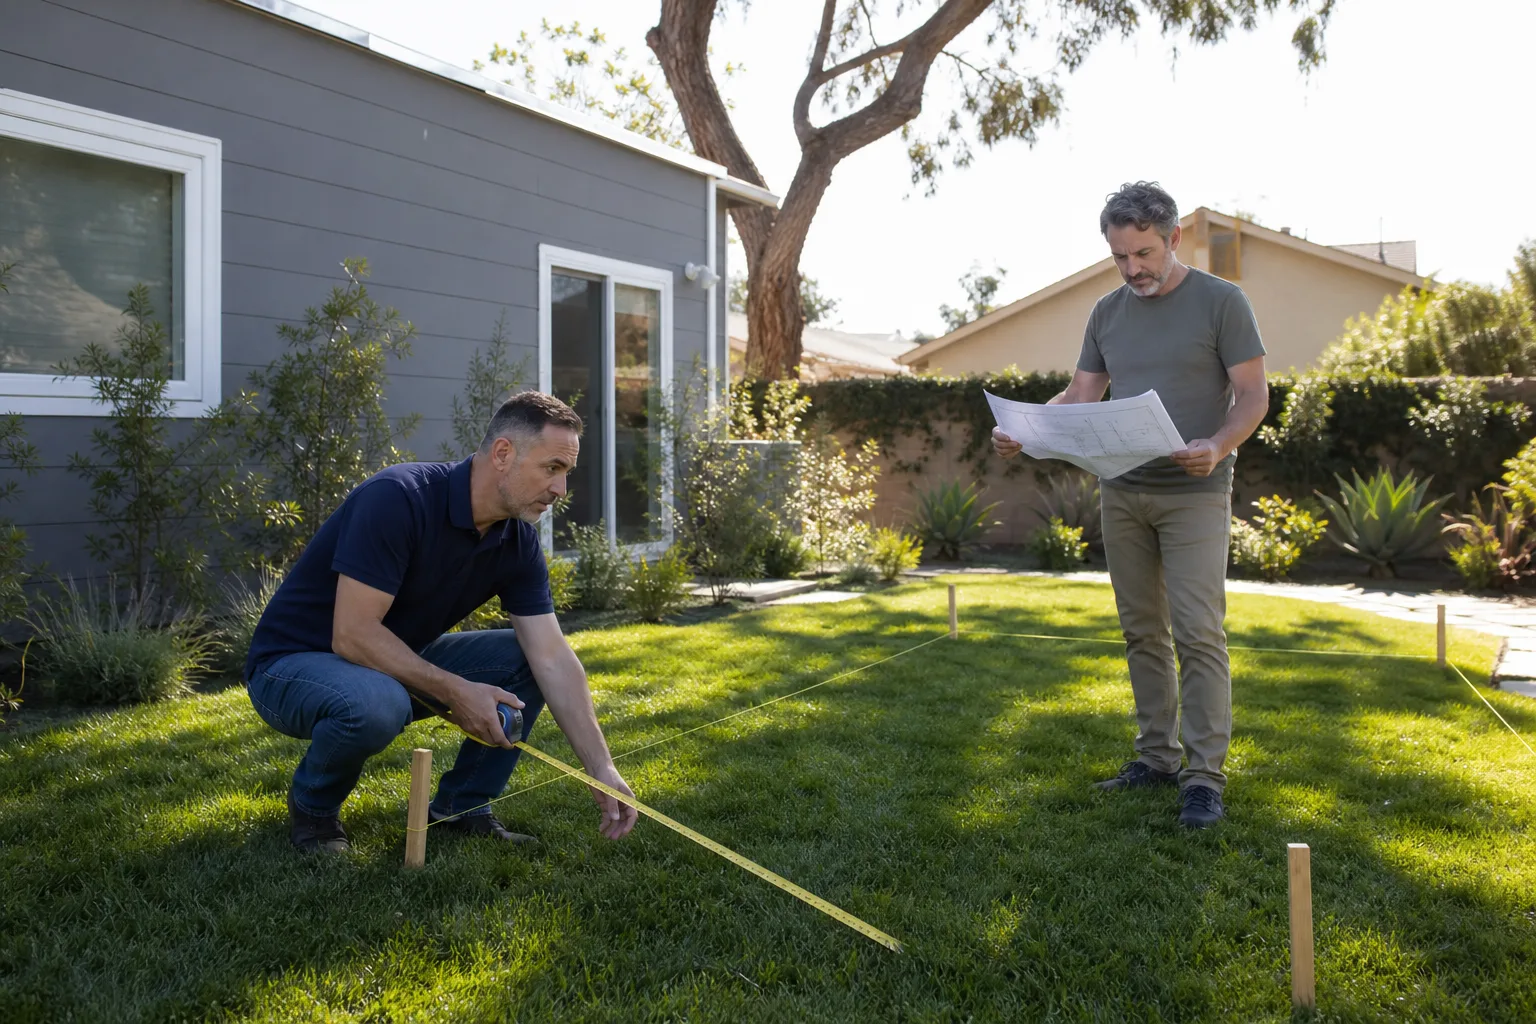
Site walk and written scope. We walk the property, measure the existing Hardie lines, note the siding profile, finish type, and any existing failures, then deliver a written scope and price. No verbal ballpark that shifts later. The paper says what we found and what we’ll do about it.
- 2
Material matching decision. We confirm whether your existing siding is primed-and-painted or ColorPlus, identify the profile (usually 5-inch exposure HardiePlank lap or 4×8 HardiePanel), and check current product availability. If the exact product is discontinued, we write that into the scope and present options: close-match repaint of the affected wall, or full re-side of that elevation.
- 3
Permit-ready plans and tie-in details. We draw the addition and the transition details where new Hardie meets old. This is the part where we define flashing specs, weep screeds, corner boards, and trim intersections. If your addition needs a Planning review for setback or massing, we flag it early, because we’d rather have that conversation before you’ve paid for design work.
- 4
Demolition and framing. We open the wall, inspect the existing sheathing and water-resistive barrier, replace anything compromised, and frame the addition. Any rotted framing or failed flashing found during demo gets documented with photos and a written change order before we proceed. No surprise invoices at the end.
- 5
Sheathing, barrier, and Hardie installation. We install the new Hardie sections with the correct nail pattern, gap spacing, and edge treatment per James Hardie installation specs. That matters, because improper fastening voids the manufacturer warranty on the new material, and we’re not going to install something that loses its warranty on day one.
- 6
Flashing, caulk, paint or ColorPlus touch-up, and seal. Every transition gets flashed and sealed, every joint gets the right caulk, and every exposed edge gets coated. We send before-and-after photos and a digital invoice you can pay by link. The work is covered by our 365-Day Done Right Promise in writing.
What James Hardie Room Addition Contractor Costs in San Francisco
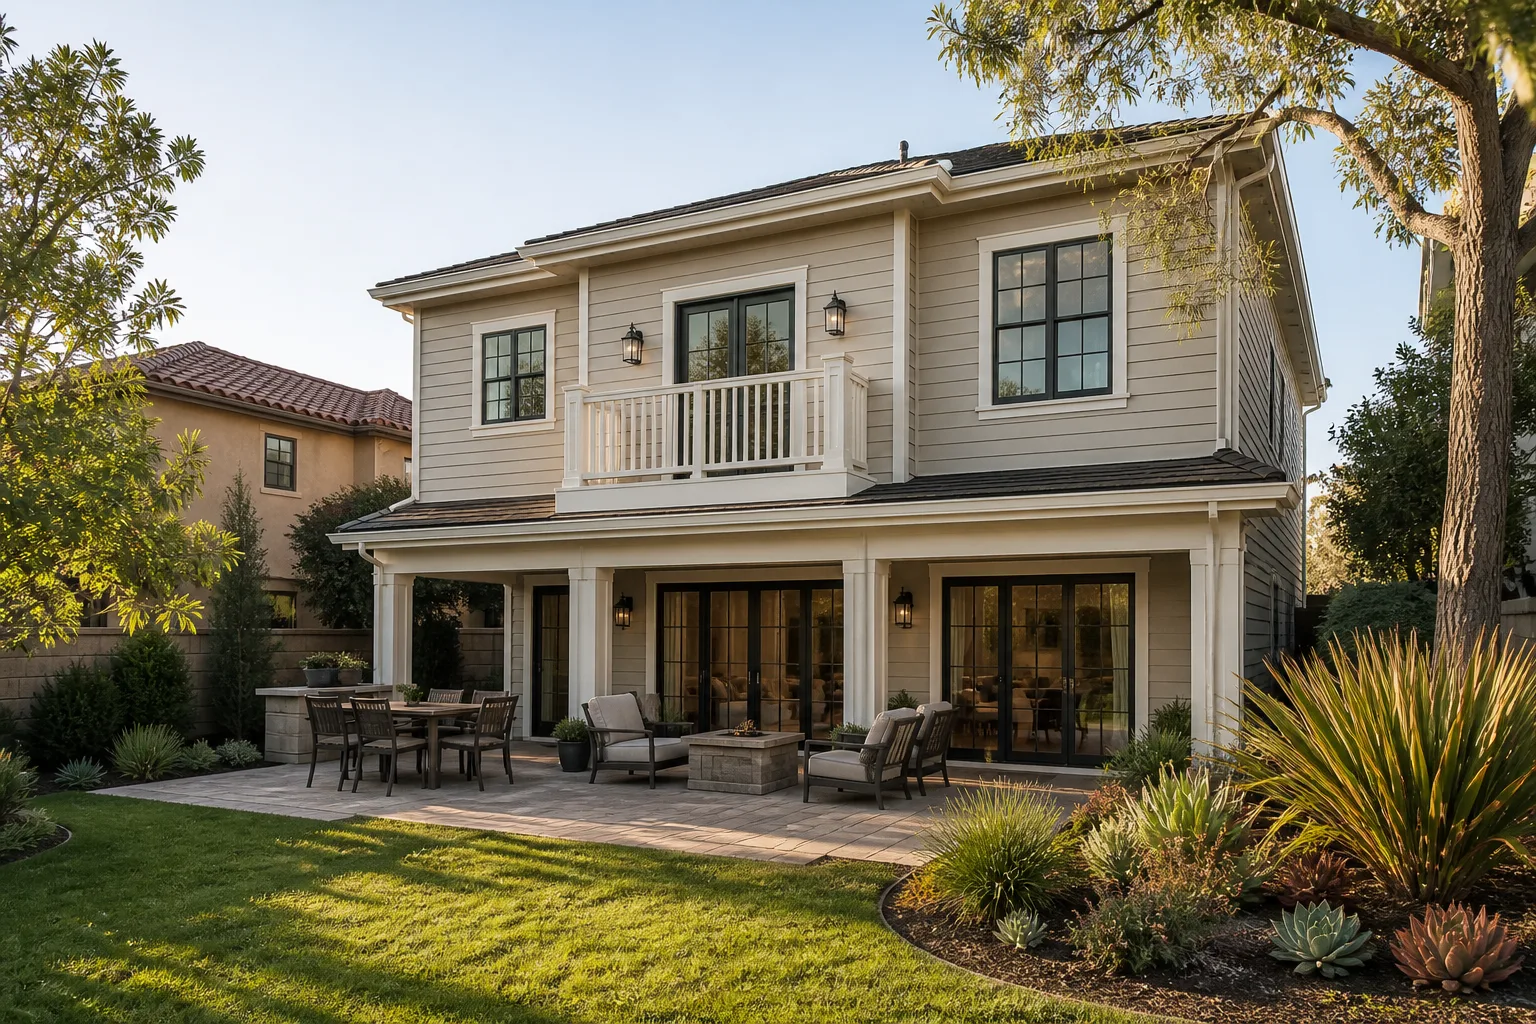
Here’s what you should expect to pay for the siding and exterior portions of a room addition on a James Hardie home in San Francisco. These are real ranges based on what we’ve priced over the past several years, not national averages from a website:
- Siding and trim for a standard 300 to 500 sq ft addition, primed HardiePlank lap, site-painted: $12,000 to $22,000
- Same addition with ColorPlus finish, exact color match from the same lot: $16,000 to $28,000
- HardiePanel vertical siding on an addition with trim boards and corner treatments: $14,000 to $24,000
- Repair or replace failed Hardie sections discovered during the addition, per wall elevation: $3,000 to $9,000
- Full re-side one elevation to fix faded or mismatched patch work: $18,000 to $40,000
What moves the price: the size of the addition, whether you have ColorPlus or field-painted siding, how much existing trim needs replacing at tie-in points, and whether the lot access makes staging a fight. Steep streets with no staging area add cost and time. Call (424) 328-5746 and we’ll give you a written price for your specific house, not a range that turns out to be fiction.
Why San Francisco Homeowners Call Benson ADU San Francisco for James Hardie Work
We’re not the only contractor in San Francisco who can install fiber cement. But we’re one of the few who will hand you a written price before a single board comes off the truck, and who backs the work with a 365-Day Done Right Promise in writing. If the transition leaks, if the flashing fails, if the paint mismatches, we return and fix it. That’s not a marketing line; it’s stamped on your project paperwork.
Our crew works in uniform, every tech is background-checked, and a live person answers the phone when you call because we staff for it. Troy Eastman walks every James Hardie addition we bid, and he’s the one who signs the scope. We also build with Abodu, Cover, and Dvele prefab systems, so if your addition plan changes and a panelized build makes more sense, we’ve got those options on the table without switching contractors.
The way we figure it, a room addition is one of the biggest checks you’ll write for your house. You should know exactly what it costs, exactly what you’re getting, and exactly who’s showing up. Price it in writing, build it right, no surprises.
FAQs
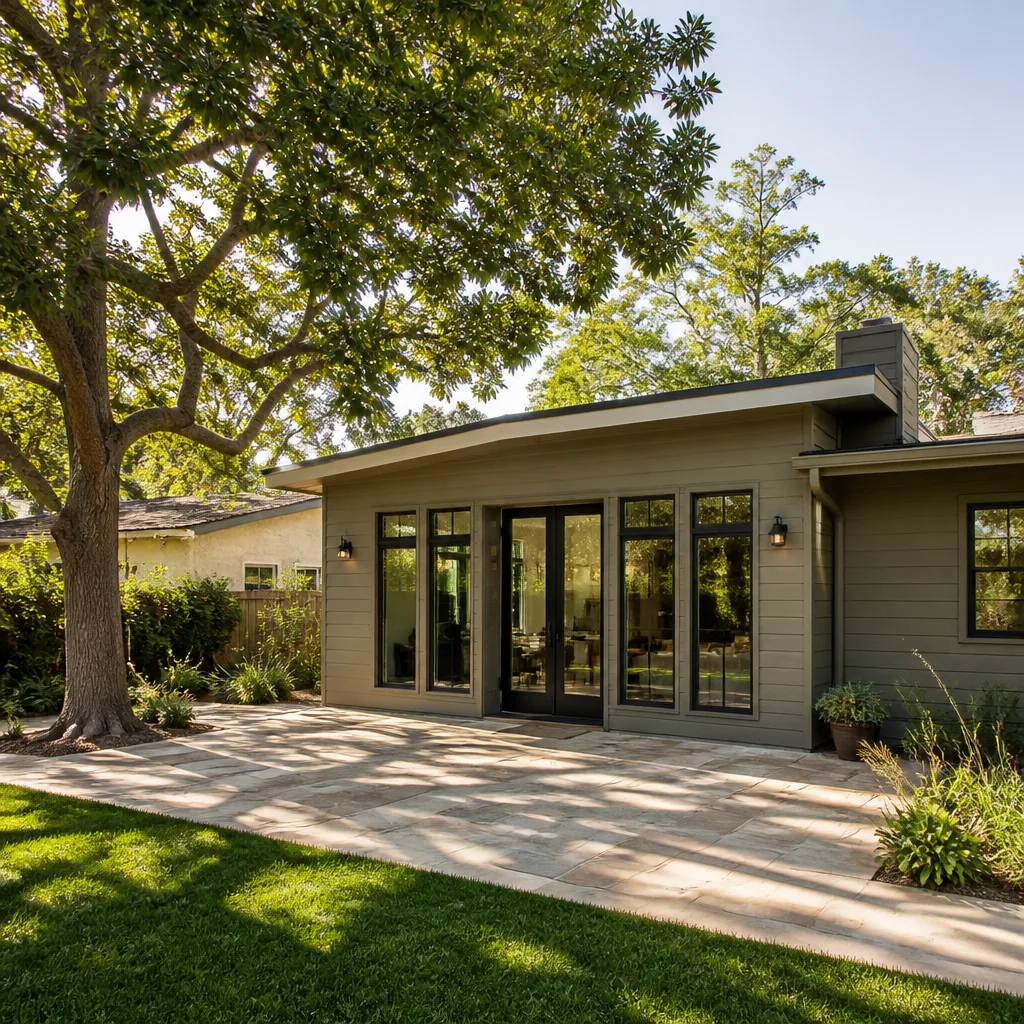
Your original siding warranty is unaffected by an addition, but the new Hardie material we install is only covered if we follow James Hardie’s published installation specs: correct fastener type and placement, proper clearance from rooflines and grade, and edge sealing on every cut. We install to those specs and document the process with photos. If another contractor installs Hardie incorrectly, the manufacturer can deny a claim on the new material, even if the failure looks like a product defect. Call (424) 328-5746 if you want us to review an existing addition’s flashing before you commit to more work.
Yes, with a caveat we put in writing. If your existing profile or color has been discontinued, we have two options: order the closest available Hardie product and repaint the entire elevation for a true match, or install the close match at the addition only and document that the color will read slightly differently under certain light. We won’t promise a perfect invisible match on discontinued product, and we put that in the written scope before work starts. Call (424) 328-5746 for a free estimate with the numbers spelled out.
A typical 300 to 600 square foot addition with Hardie siding and trim runs two to six weeks depending on foundation work, framing complexity, and permitting. The exterior siding and flashing portion is usually four to eight days once the wall is framed and dried in. We give you a written schedule with milestones before we start, and we send photos at each stage so you can see the progress without driving by the house.
We pull the required permits for the structural and envelope work on every addition we build. If your addition triggers a Planning review for setbacks or neighborhood notification, we handle the paperwork and tell you the expected review window before you commit to the design. We don’t start unpermitted structural work, and we won’t put you in a spot where you’re selling the house later and the buyer’s inspector finds a room that doesn’t exist on paper.
For 365 days from completion, if any part of the work we did isn’t right, including flashing, seams, paint adhesion, trim work, or the transition between old and new siding, we fix it at no charge. The guarantee covers workmanship on every component we touched. It doesn’t cover damage from storms, impacts, or the existing siding sections we didn’t disturb. The terms are in writing on your project paperwork, and if a covered repair fails, we come back a second time for free. Call (424) 328-5746 to schedule a free estimate and get the full guarantee language in your written scope.
Written by Troy Eastman, Owner & Lead Builder, Benson ADU San Francisco at Benson ADU San Francisco, serving San Francisco and nearby areas.